Dashboard Management
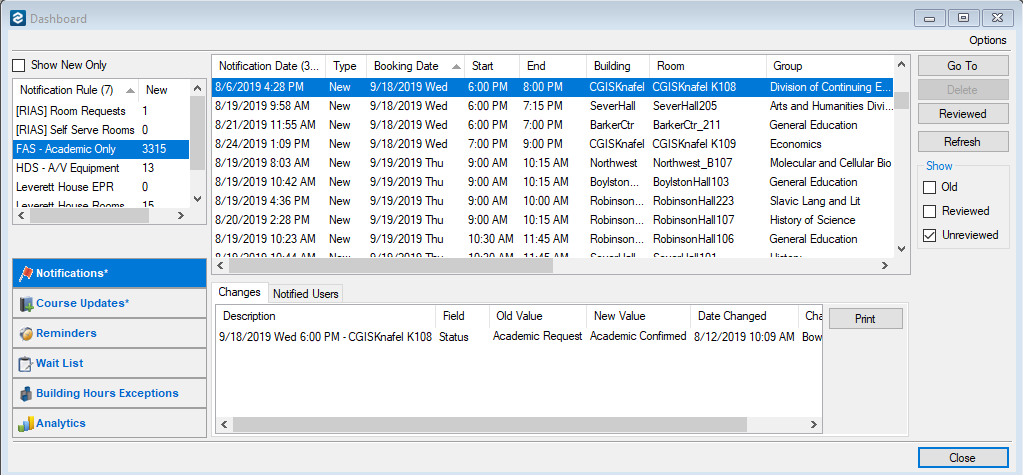
- Clear the Dashboard of notifications that do not fall in your approval time range by highlighting applicable notifications and clicking Reviewed on the right side of the screen.

2. Review notifications starting with the earliest dates.

3. Double-click the Event row in your dashboard.
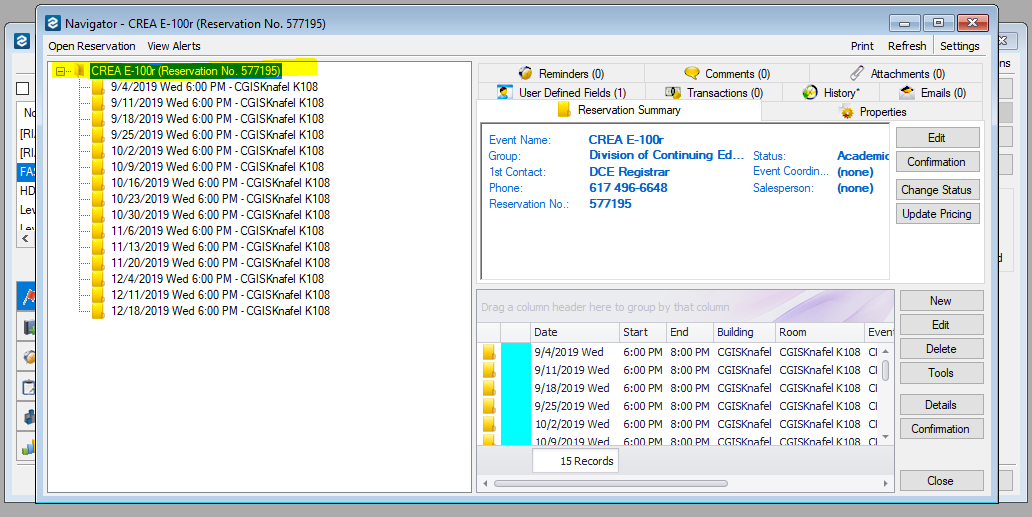
4. Click the reservation level.
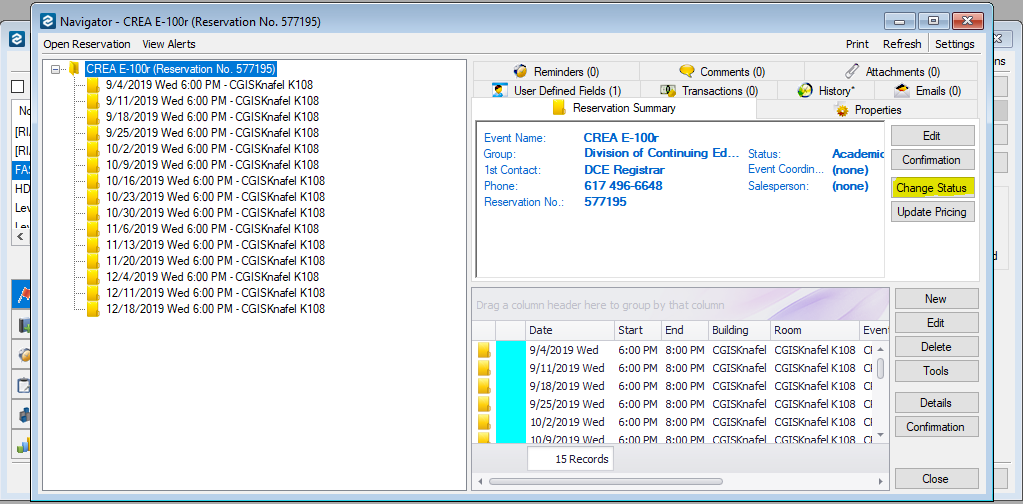
5. Click Change Status.
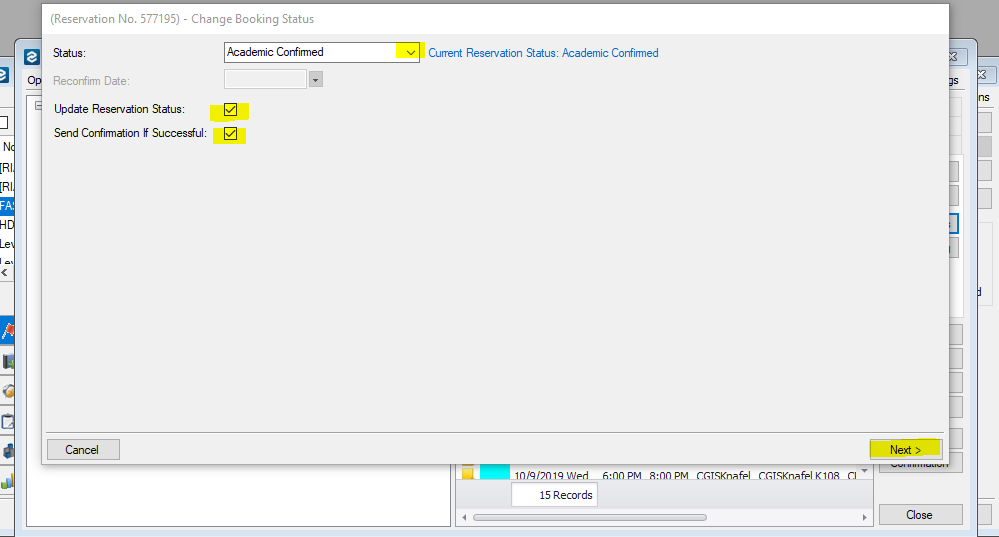
6. Use drop-down to change status: this can be changed to either a Confirmed, Declined, or Pending status, depending on the reservation.
7. Check Update Reservation Status box. If you want to send a notification right away of the status change, also check the Send Confirmation If Successful box.
8. Click Next.
9. Hold down the Control key to select from the list if you don’t want all of the bookings.
10. Check off Hide Cancelled Bookings to avoid changing bookings that have already been cancelled or declined. The Hide Old Bookings box should be checked to avoid changing the status of bookings from the past.
11. Click Finish.

12. The confirmation setup window will appear. At the top, select Generic Approval or Generic Decline or any other custom templates set up for you.

13. At the bottom of the screen, select Email.
14. An email will automatically generate. This may be edited before it is sent. You may also choose whether to send the email from your personal account or from a departmental account.
15. When you are finished with any edits, click Send.